How To Use A Different Printer Driver For Printer Mac
If you have an older printer that doesn't support driverless technology, your Mac might automatically install the driver software needed to use that device. Many printers and scanners use driverless technologies such as AirPrint or IPP Everywhere, which don't require additional drivers on your Mac.
How to Set Up Your Lexmark Printer on Mac OS X Lion IMPORTANT • Follow these steps only if your driver is compatible with Mac OS X Lion. Check the Mac OS X Lion compatibility page.
• If your system has a Lexmark printer installed on the previous version of the OS, a clean-up is required first. Click Set up on Mac OS X Lion requires two basic steps: § § Install Mac OS X 10.7 Printer Driver Lexmark printer drivers are available for download via Apple’s Software Update utility. Follow instructions below to download: 1. Select the Apple icon from the menu bar.
Select Software Update. The utility will automatically check Apple servers for updated software, including Lexmark Printer Drivers, if available. On the Software Update list, select Lexmark Printer Drivers then click Install.
The drivers will be automatically downloaded to your Mac. After download, the driver package will be mounted and installed on the system. NOTE: Driver version may be newer than what's depicted in the image below, i.e, 2.5, 2.9, 2.10 NOTE: If the Software Update utility does not detect any Lexmark printers, you may also download Lexmark printer drivers via Apple’s website. • Go to • Search for “Lexmark Printer Drivers”.
The site will automatically list all available Lexmark Printer Drivers. • Select the latest Lexmark Printer Drivers to start the download. • After drivers download; the driver package will be automatically mounted and installed on the system • After completing driver installation, printer queue can now be added. Set Up Print Queue After completing driver installation, make sure that the printer is on Ready state. Follow the steps below to add a print queue for your printer on Mac OS X Lion. Using Network connection Network printers need to be connected to the same network as your Mac. For network printers that are not yet connected to the network, use Wireless Setup Assistant or make use of USB connection.Follow the instructions in.
• From the Finder, navigate to: System Preferences > Print & Scan • Click +. • On the Default tab, select the printer from the list of discovered printers. • A print queue will be created in Print & Scan NOTE: Certain wireless configurations may cause network print jobs to print slowly. Using local (USB) connection Connect the USB cable to the printer and the computer. If a print queue is not created, follow the steps below to manually add the print queue. Do not disconnect the USB cable! • From the Finder, navigate to System Preferences > Print & Scan • Click +.
• From the list of discovered printers, select the printer that is attached to your computer. • From the Print Using drop-down menu, click Select Printer Software. • Select your printer model. • A print queue will be created in Print & Scan for your printer. Clean Up Old Printer Driver Files 1. Uninstall your old Lexmark printer driver by running the Lexmark Uninstaller. Go to Finder > Applications > Lexmark > and launch Uninstaller.
Follow the instructions in the computer screen to remove the software. If the Uninstaller is not available, use the. * Uninstaller is applicable only to (a) network printers with Bonjour support for InkJet products (b) C792 Series, X792 Series, C925 Series and X925 Series for Laser products. Remove any remaining print queues/objects in the Print and Scan folder as follows: a. Go to System Preferences > Print and Scan b. Remove the object by clicking. NOTE: There are certain configurations where some Lexmark files may still remain on the system after running the uninstaller.
Further clean-up may be necessary. Start Using Your Printer Find out how to send a print, scan or fax job to your printer from Mac OS X Lion.
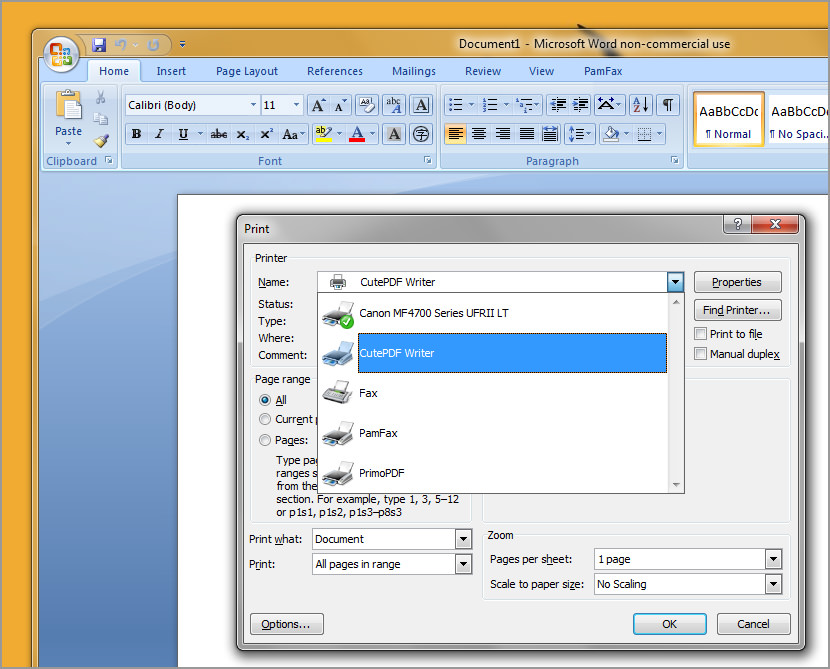
Read below to learn more. How to send a print job • On the File menu of your application, click Print. The Print dialog will pop up. • For more printing options, click the box with the inverted triangle button on the right of Printer: or click Show Details on the pop-up menu. The print dialog will expand. • On the print dialog, select your printer then click Print.
How to scan There are two ways to scan to your printer from Mac OS X Lion Using Scanner Proxy For bonjour-enabled printers, a scan proxy is created with the printer proxy. To use scanner proxy: • Go to System Preferences. • Select Print & Scan.
The common symptoms are: You'll receive an error before you can use it. The hard drive is not accessible. I tried to eject the drive and reconnected it for the second time, but the error is still there. How to format wd my passport 25e2 media for mac. Symptoms of being unable to get into WD My Passport external hard drive If you're one of the Western Digital hard drive customers and happen to use the My Passport type, you must be interested in this post. A commonly seen issue with Western Digital My Passport hard drives is that sometimes you cannot access the drive's data. Now, I can't access my WD Passport external hard drive or my data, can anyone help?'
• On Print & Scan dialog, select Scan. • Click Open Scanner to open the scanner dialog.
• Select Scanner in the upper right corner of the scanner dialog. • To start scanning, click Scan. For more scanning options, select Show Details before scanning a document. Using Image Capture For scanners that are connected via USB port, Apple’s Image Capture application can be used for scanning. To use Image Capture: • Go to Applications. • Select Image Capture.